The trend of composting will endure. There are various strategies to decrease waste, and one quite simple is to transform kitchen waste into nutrient-rich soil. However, not everyone has enough space for a compost pile. Using an indoor worm bin is a simple solution to prevent food waste and overcrowding in our landfills by using those extra vegetables. Making a DIY worm farm is simply as simple as using a kit that can be bought to do indoor worm composting.
The key to beginning a worm farm is red wigglers; you can create their environment from various everyday materials. Want to learn how to construct a worm farm? Find a nice container first that can accommodate the worms and your food waste while allowing the container to breathe and keep the worms within. The system will also need frequent carbon supplies to aid the nitrogen balance. The worms will also want bedding and a little amount of wetness.

Tips on Starting a Worm Farm
Similar to traditional composting, vermicomposting. For a faster breakdown and to prevent mold, the degrading goods must be continually moist but not soggy, have the proper ratio of nitrogen to carbon, and be broken into little pieces. Worms are used in the enclosed system to consume kitchen trash and emit nutrient-rich castings. The completed mixture may be applied to indoor plants, used as a fertilizing tea, or applied to a garden.
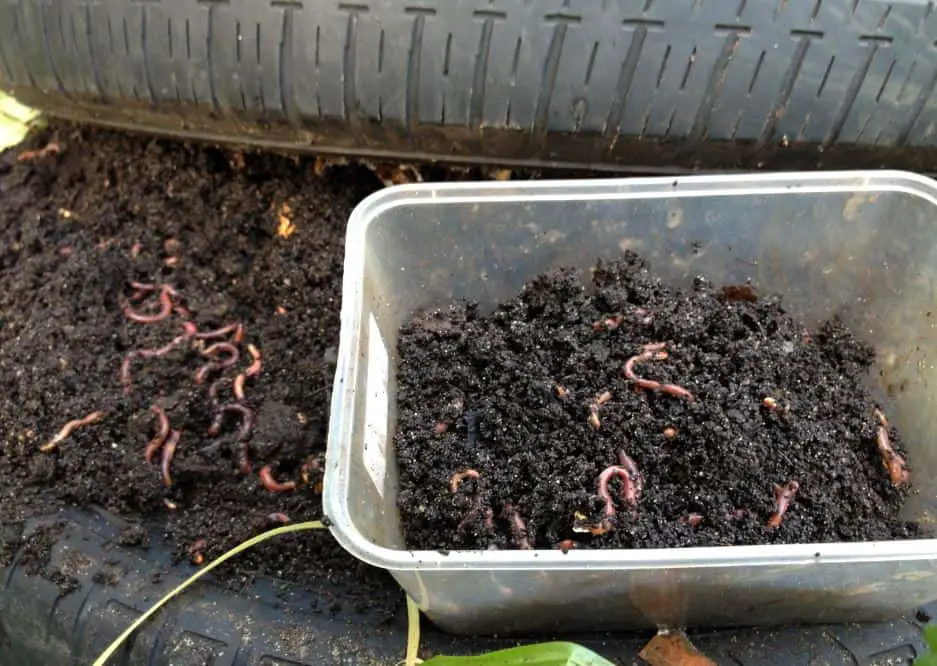
It matters what kind of worm it is. Although they can decompose organic materials outside your house, earthworms are not adapted to the high temperatures that a worm bin would reach. Red wigglers are a worm accustomed to warm climates, and intense heat will not stop them from being active. You can buy red wigglers online or at many garden supply stores. However, prepare a pleasant house for them before they come.
Starting a Worm Farm
The selection of a container is the first stage. It might be made of steel, cement, wood, clay, plastic, or another material. Due to the moisture levels, cardboard boxes should not be used since they would degrade too rapidly. A plastic container with holes drilled through the bottom, top, and sides makes a simple, affordable, and fast home for the worms. Whatever you decide on should have a tight-fitting lid similar to those on storage tubs. The holes not only let in air but also let out extra moisture to avoid mold. Place the trashcan on something absorbent or readily cleanable since the extra moisture will leak there.
The quantity of kitchen garbage you produce determines the size of the container. For every pound of kitchen garbage produced each day, 2,000 red wigglers are advised to be purchased. They will need some space, but crowding is not an issue.
Steps to a DIY Worm Farm
The moment has come to place the bedding after you have chosen your container and location. Utilize natural materials free of chemical dyes, such as coconut coir, paper towels, paper bags, and newspaper. Other appropriate organic carbon sources include sawdust, dried leaves, and others.
After stripping the paper, immerse it in water. Squeeze out any extra moisture, line the bin, and then fill it with compost or garden soil. The final mixture ought to fill the container by about a third. Add the red wigglers and give them a few days to adjust to their new surroundings. Then layer the trash can with 1 inch (2.5 cm) of finely chopped kitchen leftovers. A large addition at once will cause it to mold before the worms can consume it all.
To maintain the right balance, cover each layer of scraps with an equivalent quantity of carbon, such as dried grass, leaves, or other materials made of wood or paper. If the habitat becomes dry, sprinkle water on it to moisten it. Depending on the size of the food scraps, the temperature, and other circumstances, the castings will reach a dark brown color and be ready for use with your plants in 1 to 2 weeks.