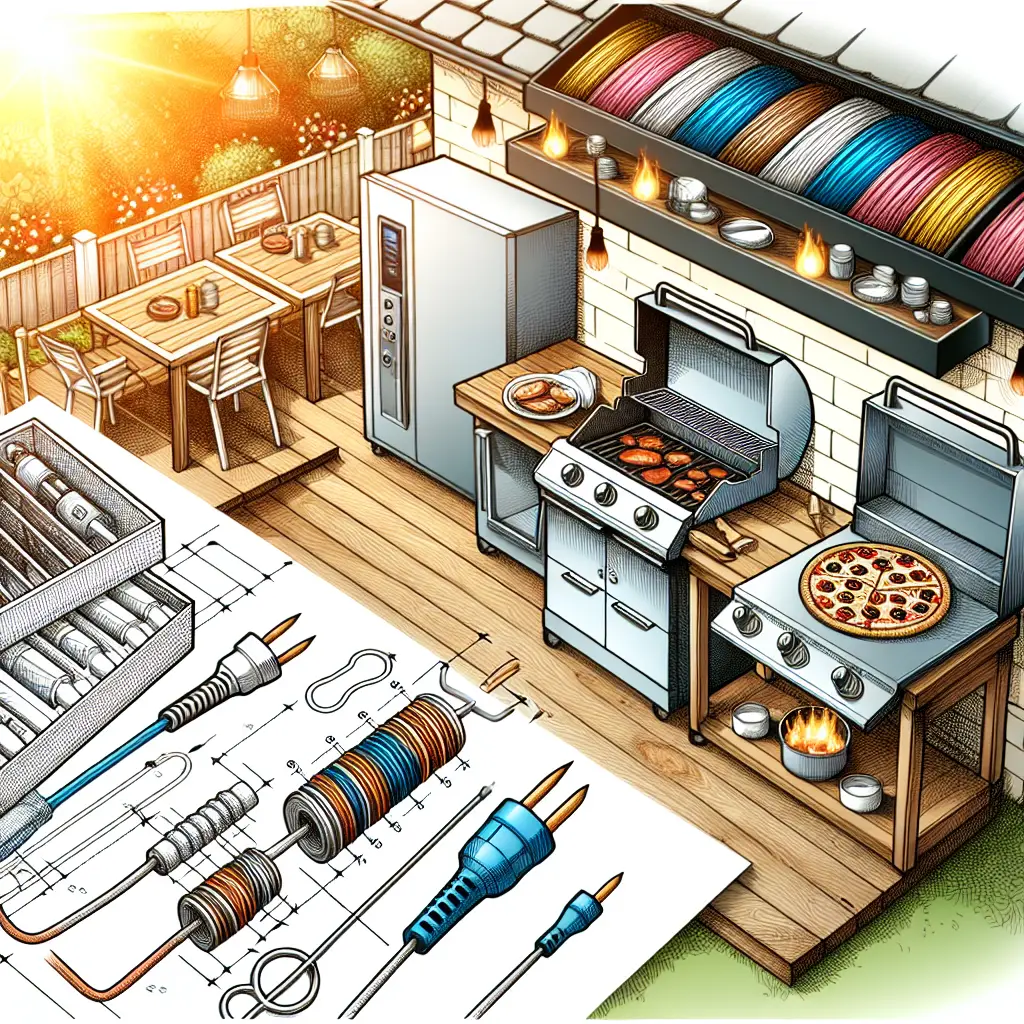
What Size Wire For Outdoor Kitchen?
Creating the perfect outdoor kitchen is a dream for many homeowners who love to entertain and cook al fresco. As you dive into designing your outdoor culinary oasis, it’s crucial to consider the electrical requirements to ensure safety and functionality. One of the key decisions you’ll face is determining the appropriate size wire to power your outdoor kitchen appliances and lighting. It may seem like a technical detail, but choosing the correct wire gauge is vital for the safety and efficiency of your space.
Understanding Wire Gauge
Before we delve into specifics, it’s important to understand what wire gauge means. The wire gauge, or size, refers to the diameter of the wire. This diameter affects the amount of electrical current (measured in amperes or amps) that the wire can safely carry. The American Wire Gauge (AWG) system is the standard used in North America to denote wire sizes.
Considering Amperage and Distance
To determine the correct wire size for your outdoor kitchen, you must take into account the total amperage of the appliances and the distance from the power source to the kitchen. As a general rule, the longer the distance the electricity must travel, the larger the wire diameter needed to maintain proper voltage.
Consult with a National Electrical Code (NEC) handbook or a licensed electrician to find the exact requirements for your setup. The code outlines specific wire sizes for different amperages and distances. This is crucial because using a wire that’s too small for your amperage needs can lead to overheating and potentially start a fire.
The Role of Circuits
Your outdoor kitchen will likely need more than one circuit, especially if you plan on running multiple high-powered appliances such as a refrigerator, grill, or dishwasher. These circuits can typically range from 20-50 amps depending on the appliance. Your wiring must match or exceed the amperage rating of your circuit breakers to avoid tripping them.
For reference, a common household circuit is 20 amps and often uses 12-gauge wire for inside a home. However, outdoors, you may require a thicker, more robust wire due to exposure to the elements and potentially longer runs from the power source.
Wire Material and Insulation
When wiring an outdoor kitchen, it’s essential to choose a wire that is rated for outdoor use. Wires like THWN-2 are a good choice because they have thermoplastic insulation and are suitable for wet or dry locations. The “W” denotes suitability for wet conditions, which is a must for outdoor applications.
It’s also important to consider the material of the wire. Copper is a common choice due to its excellent conductivity and resistance to corrosion. Aluminum wiring is another option and is cheaper than copper, but it’s also less conductive and more susceptible to corrosion, so it requires a larger gauge to carry the same amount of current as copper.
Assessing Your Specific Needs
Now, let’s consider a hypothetical outdoor kitchen. Imagine you have a grill, a small refrigerator, and some outdoor lighting. You will want a separate circuit for the refrigerator, requiring a minimum of a 20-amp circuit with 12-gauge wire if the run is less than 50 feet. If you have a standard electric grill, you might also use a 20-amp circuit, but if you decide to install a more powerful model, a 30-amp circuit with 10-gauge wire might be necessary. Lights can typically be run on a 15-amp circuit with 14-gauge wire, unless you’re installing high-wattage lighting systems requiring more power.
It is always prudent to plan for future additions when installing the wiring for your outdoor kitchen. This might mean installing a slightly larger conduit and wires than what is currently needed. That way, you can easily add another circuit in the future without having to redo all your previous work.
Hiring a Professional
Due to the complexity and safety issues involved, it’s highly recommended to invest in a licensed electrician who is familiar with the latest electrical codes and outdoor installation practices. They can provide a more accurate assessment tailored to your specific needs and ensure that the work is done safely and to code.
Recommended Tools and Products
For those who are experienced with electrical work and have decided to go the DIY route, you’ll need the right tools and materials for the job:
- Multimeter: To test for the presence of live current and verify connections.
- Wire strippers and cutters: For cutting and stripping insulation from wires.
- A variety of wire nuts: To safely connect wires together.
Remember to always follow safety protocols and to turn off the power at the main breaker before starting any electrical work.
Conclusion
Wiring an outdoor kitchen involves more than just picking out appliances and fixtures; it requires careful planning and knowledge of electrical standards. By understanding your power needs, choosing the correct wire size, and adhering to the NEC guidelines, you can ensure that your outdoor kitchen is both safe and efficient. And remember, this is a job where cutting corners can lead to dangerous situations, so consult with a professional and invest in the right materials to create the outdoor kitchen of your dreams safely.
Creating a safe and functioning outdoor kitchen is no small feat. Hopefully, this guide has provided some clarity on how to approach the wiring for your outdoor culinary space. Whether you’re a seasoned DIYer or prefer to leave it to the professionals, understanding the importance of correct wire sizing is an essential step towards a successful project.

