The height of cedar trees, which may grow to be extremely tall at 50 or 60 feet (15-18 meters), is particularly impressive. This makes transplanting a mature cedar tree difficult. Anyone considering tree transplantation must understand when and how to move a cedar tree. Continue reading for details.

Cedar Tree Transplant
There are several varieties of cedar. Two of the most well-known ornamental cedars are the Deodar cedar (Cedrus deodara), one of the most exquisite conifers, and the Atlas cedar (Cedrus atlantica), which has survived for more than 150 years. In cultivation, the former reaches a height of 50 feet (15 meters), whereas the Atlas cedar reaches a height of 60 feet (18 meters).
The age and type of the tree, as well as other variables, affect how challenging it is to transplant a cedar. A younger tree is much simpler to transplant than an older one. Additionally, transplanting a Deodar is easier than an Atlas cedar.
When Should Cedar Trees Be Transplanted?
What time of year is ideal for cedar tree transplantation? All cedar trees, regardless of age or species, respond best to transplantation in the spring or autumn. Dormant trees may be transplanted up to eight weeks before extreme cold or heat is expected to hit an area, but it’s best to wait until the tree is fully dormant before attempting the move.
Being evergreens, cedars continuously lose water through their leaves throughout the winter. They have a higher chance of surviving if they are moved well before winter, giving them time to grow new roots before the ground freezes. It is recommended to transplant most evergreens in the spring.
How Do I Plant a Big Cedar?
Any large tree transplant is a difficult task, but it is possible. The ideal strategy is to get going quickly and to be aware of all the necessary stages.
Plan to offer your cedar the greatest opportunity to survive the transfer. To give your tree a chance during a transplant, you must do root-pruning, which requires at least a season of planning. Make the root ball as big as possible by digging a trench around it many months before the transplantation date.
Water the soil surrounding the root zone thoroughly as the transplantation date draws near. After a few days, gently dig into the trench while preserving the root ball. For the transfer, wrap the root ball in burlap and tie it with twine.
Before transplant day, prepare the planting hole. Make it twice as broad and deep as the root ball. Soil should be added so the tree may stand in the hole with its top just above the surface.
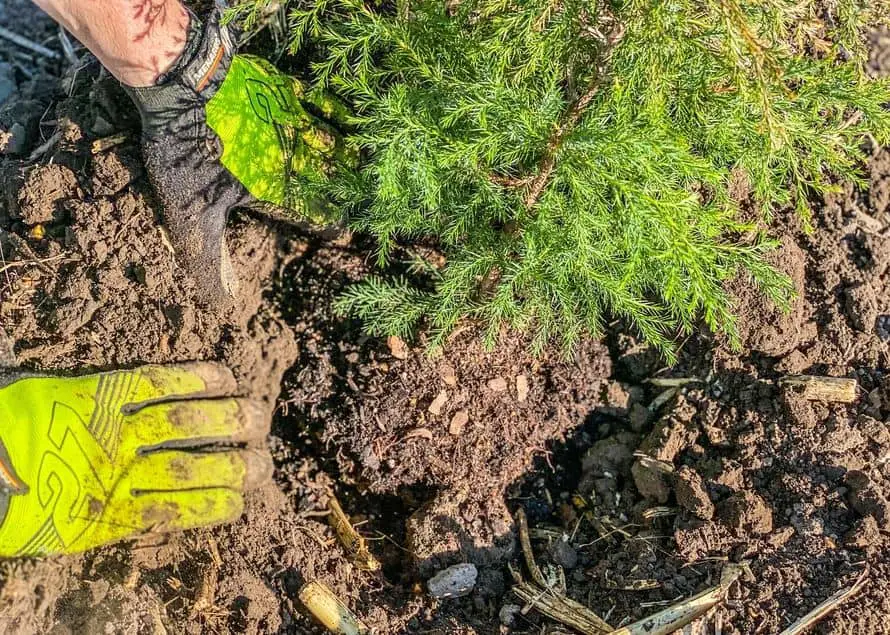
Place the tree in the transplant hole standing up. The burlap should be removed as far down as feasible once the twine has been cut from the root ball. Backfill the area under and around the root ball to eliminate any air pockets. Fill the hole with water and soil gradually.
Only add something to the soil, not even compost or peat moss. Instead, backfill with the soil that was removed. For at least a year, refrain from fertilizing the plant, but keep the root ball wet to promote root development.


