After repotting, it is common to find your peace lily in shock. Any indoor plant that is being repotted may experience this. You may take precautions to stop a peace lily from withering after transplanting, along with corrective measures, if this does occur.
Popular houseplants, peace lilies (Spathiphyllum spp. ), will blossom if given enough light. A peace lily will not perish after being replanted if it is given the right care and is transplanted while using the right techniques.

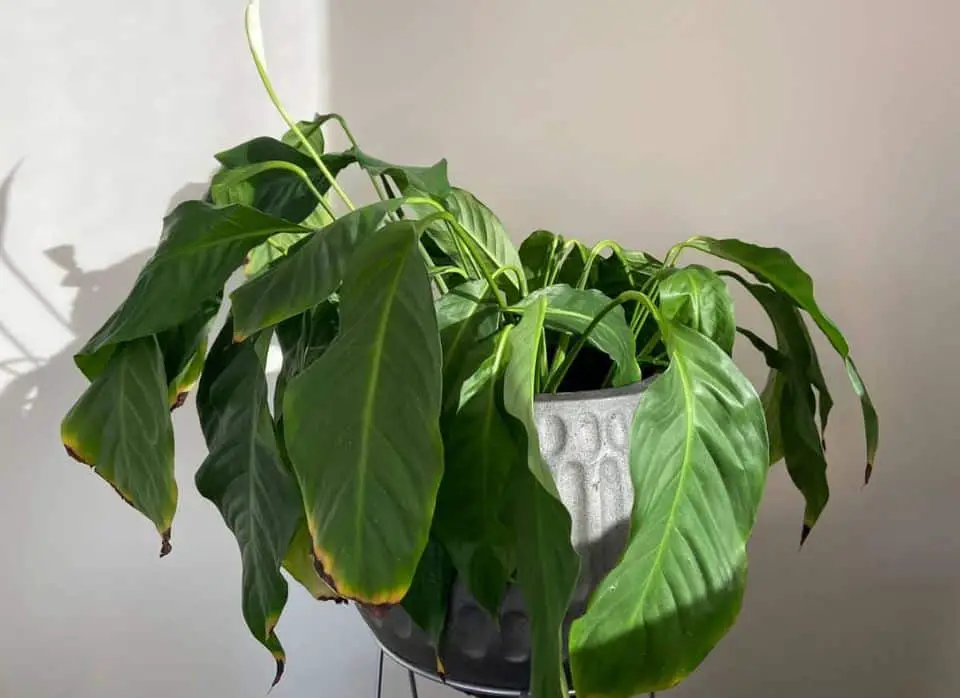
Fixing a Droopy Peace Lily After Repotting
These procedures can help you revive a peace lily that wilted after being repotted.
- Let the top 1/2 inch (1.3 cm) of soil dry off between waterings. The ideal soil for peace lilies is damp but not humid. Until it heals, you may let it remain a bit dry.
- Place the plant in diffused light for a week to ten days. Reposition it to its original spot or somewhere with strong, indirect light, such as next to an east or south window, after it awakens.
- Keep the plant away from vents for heating or cooling.
- Before starting fertilizer again, wait two to four weeks.
- Water the plant as soon as it begins to wilt. The plant will be stressed if water is delayed until the wilt warning.
- Placing the peace lily on a tray of stones will increase the humidity surrounding it. Ensure the pot is sitting on the stones and not touching the water when you pour water into the tray.
Transplanting Tips
Following these guidelines can help you effectively transfer any houseplant in the future, including peace lilies.
- Fertilize the plant and look for bugs two weeks before transplanting. Any insect issues should be addressed before transplanting.
- To moisten the roots and make it simpler to take from the container, water the plant the night before transplanting.
- Select a container with a diameter that is 1-2 inches (2.5-5 cm) greater than the original container. By trapping more water in the soil, anything bigger may lead to root rot.
- Verify the cleanliness of the container. Dip the pot in a solution of 1 part bleach to 9 parts water to eradicate germs.
- Buy a soilless planting medium that contains organic matter, or make your own by adding perlite to improve drainage.
- Remove the plant from the container with care. Check the roots for circular or broken roots. Snip off any black or discolored roots, and break off any surrounding roots. If necessary, divide the plant, ensuring sure that each split has three stems.
- The soilless mixture should about fill the container halfway. The plant should be placed at the same level as previously, with the margins filled with a more soilless mixture. To simplify watering, the top of the soil should stop approximately 1 inch (2.5 cm) from the top of the container.
- Fill the drainage holes with water, then let it run off. Any water that gathers in the drip pan should be discarded.
- Dissolve any divisions you created.
By following these suggestions, you should be able to maintain the health and vitality of your peace lily.