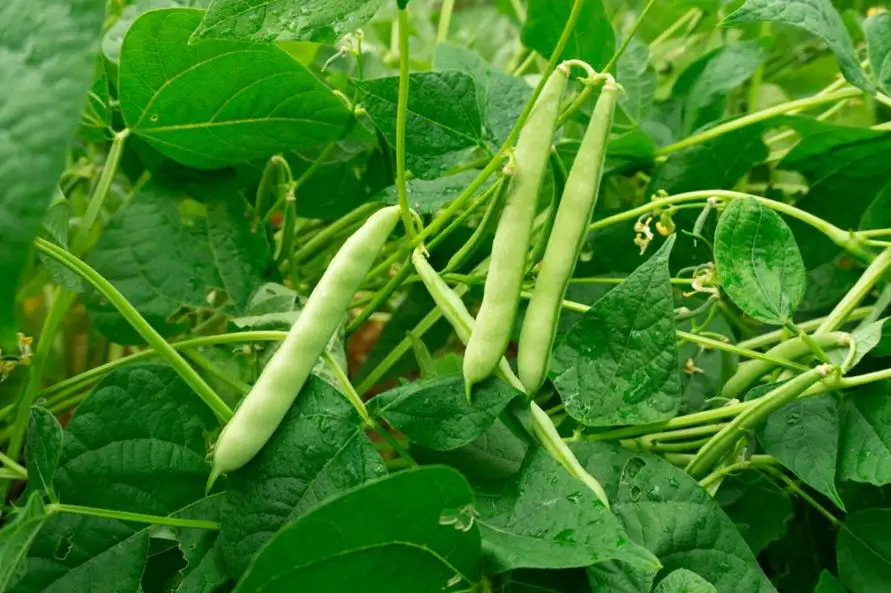
One of the simplest garden vegetables to plant is green beans. This crop may be so abundant that many gardeners get overrun by beans. Fortunately, growing green beans on a vine is just as simple.

Preserving Garden Green Beans
Freezing fresh green beans is one of the simplest ways to preserve them. Green beans that have been frozen keep their taste, colour, and texture. They may be used in several dishes or microwaved for a fast, simple side dish. To freeze fresh green beans, follow these instructions:
- Harvest unharmed, crisp, and delicate pods. Beans may be frozen whole or chopped. However, straight whole beans freeze more neatly.
- Before cutting or breaking off the ends and removing the threads, wash the beans in cool water. If desired, slice beans into 1-inch (2.5 cm) pieces.
- Green beans should be blanched before freezing to avoid taste and colour deterioration. Green beans may be cooked up to four cups (946 ml) per gallon (3.7 l) of boiling water for blanching. One teaspoon (4.29 ml) of citric acid may be added to one gallon of water as an anti-microbial agent.
- When the water boils again, add the green beans and blanch for two to three minutes. For altitudes above 5000 feet, increase the cooking time by one minute (1524 m.). After being blanched, take the beans out of the pan and plunge them into cold water to stop the cooking.
- Drain the beans after removing them from the cold water bath. Place blanched beans in freezer bags or containers in serving-size servings. Alternatively, you may freeze the beans in a single layer on a tray over night to prevent them from sticking together. These may be kept in bigger bags and taken out as necessary.
- All preserved food must be dated and labelled. Frozen beans should be used within ten months.
Dehydrating Green Beans
A home dehydrator or an oven may be used to dry green beans. Green beans that have been dried may be added to soups, stews, and casseroles to rehydrate them. Use the following advice for drying green beans:
- Harvest, prep, and blanch green beans as described above before drying.
- To increase texture, freeze blanched beans for 30 to 40 minutes.
- Place the beans in a single layer, spaced evenly apart, on a tray.
- For 8 to 14 hours, or when the beans are very dry and brittle, place the pans in an oven or dehydrator set at 140 degrees Fahrenheit (60 degrees Celsius).
- Place the beans in a large glass or plastic container to condition them for storage. Shake the container occasionally to separate the beans and only fill it up to about two-thirds full.
- Continue conditioning the beans for another 4 to 10 days if no moisture appears within the container. Dehydrate again if moisture accumulates, then condition.
- Beans should be kept in airtight bags or containers. Use between six and 12 months.
How to Make Canned Green Beans
Green beans must be pressure canned since they are a low-acid food, unlike tomatoes and pickles. The one exception is the vinegar pickling of green beans. The bacterium that causes botulism, Clostridium botulinum, cannot thrive because of the acidity of the vinegar. Before you start, be sure you are confident in what you are doing since eating food that has been poorly canned may cause disease or even death:
- Only premium food is harvested, carefully washed, and ready for canning. A 7 quart (6.6 l) canner holds around 14 pounds of beans, and 9 pounds (4 k) will yield 9 quarts (4.2 l).
- Before washing, inspect jars for chips or cracks. Prepare lids by the manufacturer’s instructions.
- Fill the jars with prepared raw beans to cold pack. A teaspoon of salt per quart or a half teaspoon (2.4 ml) per pint may be added if preferred. Bring the jar’s contents to a boil.
- Alternatively, the beans may be heated up before being packed by boiling them for five minutes. Boiling water and beans should be placed in the jars.
- Always leave an inch of space at the top of the jar empty before canning. The jars must have this headspace to be properly sealed.
- After filling, apply lids and bands and clean the jars’ sealing surface with a moist paper towel. The process is according to the manufacturer’s instructions or checks with your neighbourhood extension office for the most recent advice.
- Remove the processed jars from the canner and cool them for 12 to 24 hours. The jars may be cleaned, labelled, and kept for up to two years if sealed.