How To Make Cushions For Outdoor Furniture (DIY Update)
When it comes to updating your outdoor living space, comfort is key. A perfect way to achieve this is by creating your own custom cushions for your outdoor furniture. Not only is this DIY project budget-friendly, but it also gives your garden that personalized touch that off-the-shelf options can’t match. With a few simple materials and a little time, you can refresh your outdoor space just in time for the warmer months ahead. Keep reading for a step-by-step guide on how to make cushions for outdoor furniture.
Choose Your Materials
First things first: choosing the right fabric and materials is crucial for your DIY outdoor cushions. Selecting a resistant fabric, such as Sunbrella, which is specifically designed to withstand the elements, will ensure your cushions stay looking fresh and vibrant for years to come. Joann offers a variety of outdoor fabric options that are both sturdy and stylish.
For the filling, consider using a high-density foam that can handle moisture without succumbing to mildew. Online retailers like Foam Factory provide several thicknesses and densities to suit your needs.
Tools and Supplies Needed
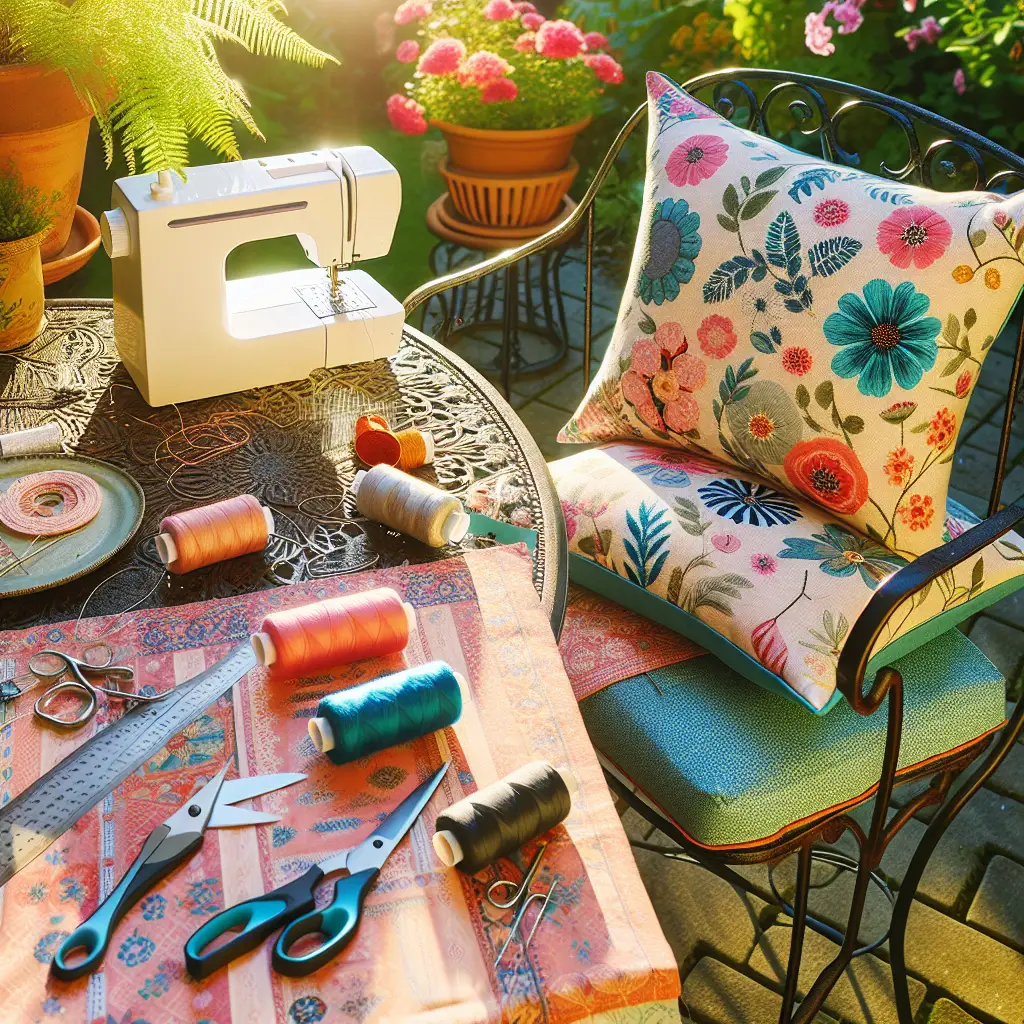
Before you dive in, make sure you’ve got all the necessary tools and supplies:
- Outdoor fabric
- High-density outdoor foam
- Measuring tape
- Scissors or a rotary cutter
- Sewing machine (preferably with a heavy-duty needle)
- Thread (UV resistant if possible)
- Straight pins
- Zipper or Velcro (for the cushion cover closure)
- Iron and ironing board
Measuring and Cutting
Accurate measurement is the foundation of a well-fitting cushion cover. Measure the width, depth, and thickness of your outdoor furniture seats and add an extra inch on all sides for seam allowance. Once you have your measurements, cut your fabric and foam accordingly.
Sewing The Covers
Start by laying your fabric flat and cutting two pieces to size for each cushion – one for the top and one for the bottom. If you’re adding a zipper or Velcro as a closure, ensure to account for this in your fabric cuts.
Sewing can be dauting if you’ve never done it before, but there are plenty of online guides and videos to help you along. Sailrite offers comprehensive tutorials on working with outdoor fabrics.
- Place the two pieces of fabric together, right sides facing each other.
- Pin the sides together to keep them from shifting as you sew.
- Sew around the edges, leaving enough space to insert your closure and turn the fabric right side out.
- If you’re inserting a zipper, pin it in place between the open edges and sew around. Alternatively, attach Velcro strips to each side of the open edge.
- Turn your cover right side out, and iron the seams flat for a crisp edge.
Inserting The Foam
Insert the foam into your newly created cover. It might be a tight fit, but that’s what you want – snug cushions keep their shape and look better on your furniture.
Finishing Touches
Adds finishing details like piping or buttons can give your DIY cushions a more professional, polished look. While these aren’t necessary, they can be worth the extra effort.
If you don’t have a sewing machine, it’s also possible to construct no-sew cushion covers using heavy-duty outdoor fabric glue or by using the folding techniques similar to wrapping a gift, secured by fabric-safe tape or Velcro. This method won’t produce as durable a result as sewing, but can be a good temporary solution.
Maintenance and Care
To keep your cushions in prime condition, it’s crucial to care for them properly. Prolong their life by storing them in a dry place when not in use, and clean them regularily using mild soap and water. For stubborn stains, you might consult the fabric manufacturer’s instructions for special cleaning agents.
Wrap Up
A DIY update to your outdoor cushions is a rewarding project that will enhance the comfort and style of your outdoor space. It gives you the opportunity to tailor your garden furniture to your exact taste and requirements, all while making a sustainable choice by repurposing existing furniture.
Remember that while creating your cushions, patience is just as important as the process. Don’t hesitate to take your time with measurements, cutting, and sewing. And if you run into a snag, there are countless resources and sewing communities online where you can find advice and support.
Now that you’re equipped with the know-how, grab your materials and get started on your custom outdoor cushions, just in time to enjoy the sunshine and fresh blooms of spring. Enhance your outdoor living area with your own unique touch and prepare to lounge in comfort and style.
Happy crafting!