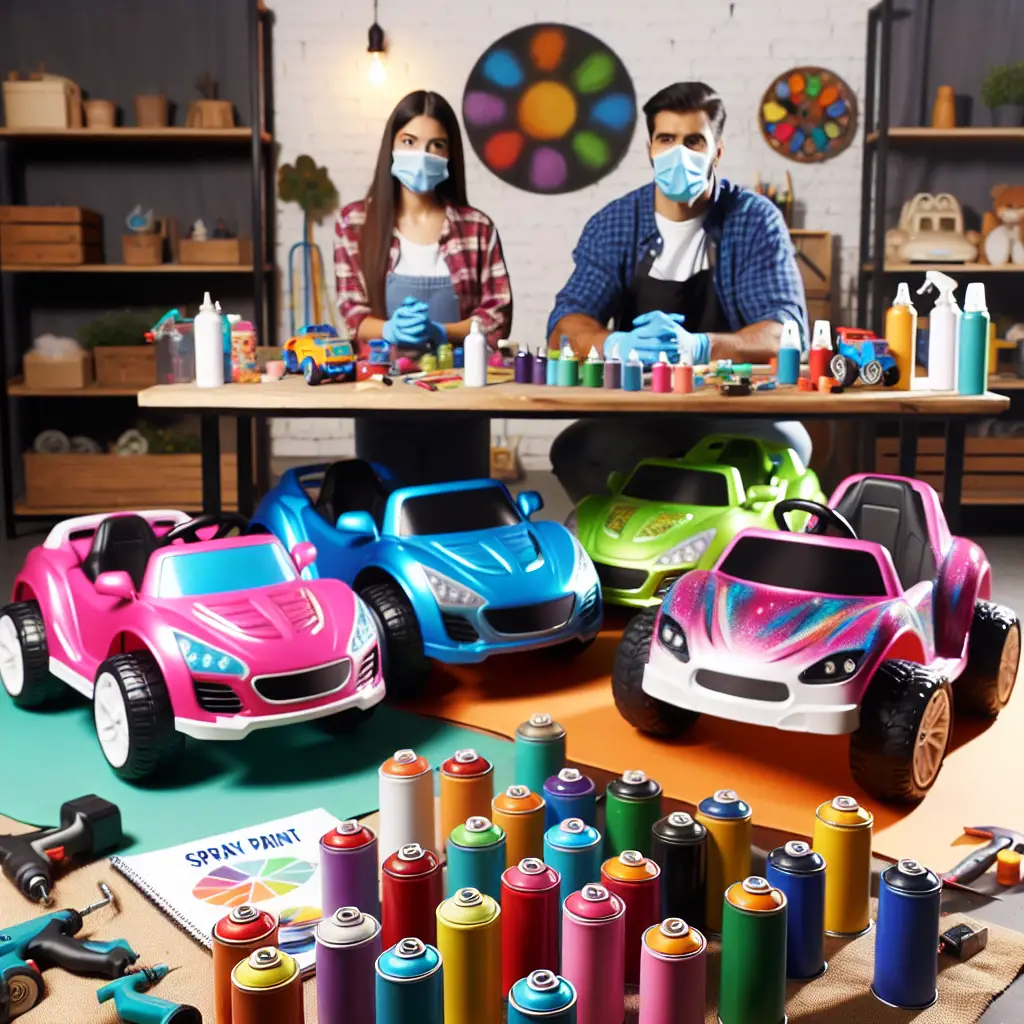
Customizing Your Power Wheels With Spray Paint 101 – Tips and Tricks
Are you looking to bring a burst of life to your child’s Power Wheels? Sprucing up a beloved Power Wheels with a fresh paint job isn’t just about aesthetics; it can be a fun project that adds a personal touch and potentially extends the toy’s life. But before you start shaking those spray cans, it’s crucial to know the right techniques and use the correct materials. Whether you’re a seasoned DIYer or new to the painting game, this comprehensive guide will help you navigate the process of painting Power Wheels to achieve stunning results.
Understanding the Material
Power Wheels are typically made from a tough plastic material designed to endure the rough and tumble of kids’ play. The right paint needs to adhere to plastic surfaces without chipping or peeling. According to Consumer Reports, selecting a paint that is specifically formulated for plastic is key.
Prepping Your Power Wheels for Painting
Before you can unleash your inner Picasso, the Power Wheels need to be prepared. This involves a thorough cleaning to remove all dirt and grime. A mild detergent and a scrub brush should do the trick. After cleaning, wipe the surface down with rubbing alcohol or a specialized plastic surface cleaner to ensure that no oils are left behind.
Next comes the time-consuming, but essential, task of sanding. Using fine-grit sandpaper, scuff the surface to provide a better grip for the primer and paint. Remember to wipe away the sanding dust when finished.
Priming the Surface
A good foundation is crucial, which is why priming your Power Wheels cannot be skipped. The primer will not only improve paint adhesion but will also help in achieving an even, durable finish. Opt for a plastic-specific primer, like Rust-Oleum’s Plastic Primer, to get the job done correctly.
Step-by-Step Painting Guide
- Selecting Your Spray Paint: For a flawless finish, choose spray paints designed for plastic. These paints contain special bonding agents that help them adhere to plastic surfaces.
- Setting Up Your Workspace: Spray painting should be done either outdoors or in a well-ventilated area. Set up your Power Wheels on a drop cloth or old newspapers to protect the surrounding area.
- Shake the Paint Can: Follow the manufacturer’s instructions, shaking the can for the recommended time to mix the paint properly.
- Test the Paint: Before you start painting the actual item, test the spray paint on a piece of cardboard or scrap plastic to ensure smooth application and the color is as desired.
- Applying the Paint: Hold the can approximately 8-12 inches away from the Power Wheels’ surface and spray in a steady back-and-forth motion, overlapping each stroke slightly. For best results, apply multiple light coats instead of one heavy coat.
- Let it Dry: After each coat, allow sufficient drying time as per the paint can instructions. Do not rush this step as it ensures the paint properly adheres to the surface.
- Clear Coat: Once the final paint coat is dry, applying a clear coat provides extra protection against scratches and UV damage. This coat also gives a professional finish to your painting project.
Best Paints to Use on Power Wheels
Certain brands have proved to offer some of the better options in terms of coverage and durability. Krylon Fusion for Plastic and Rust-Oleum Painter’s Touch 2X are both excellent choices favored by DIY enthusiasts.
When selecting paints, it’s also critical to keep safety in mind. Ensure that the paints are non-toxic once dry, especially when children are involved. Always check the label for safety information.
Maintaining the Finish
Your paint job can stay looking fresh with a bit of care:
- Store Power Wheels out of direct sunlight when not in use to prevent paint from fading.
- Clean it gently with a soft cloth and mild soap.
Customizing Ideas
Beyond a simple paint job, there’s ample opportunity for customization. You might add decals or stencils for personalized themes. Be sure to apply these additional decorations before the clear coat to seal them in.
The Takeaway
Spray painting your children’s Power Wheels can be a gratifying project that breathes new life into their favorite toys. It’s a creative process that encourages you to put your personal stamp on something tangible. Just remember to prioritize preparation, use the suitable materials, work in a ventilated space, and practice patience as you allow for drying time between coats.
With these tips and tricks in your arsenal, your customized Power Wheels will not only look incredible but can also withstand many more adventures. Customizing a Power Wheel can be just the beginning of numerous innovative projects you undertake for your backyard space. For more engaging DIY projects, gardening advice, and backyard tips, keep exploring niche blogs like ours — where inspiration meets practical guidance.
Remember to always follow the manufacturer’s instructions, safety guidelines, and the more specific details from this guide to ensure a smooth and successful Power Wheels transformation. Happy painting!

