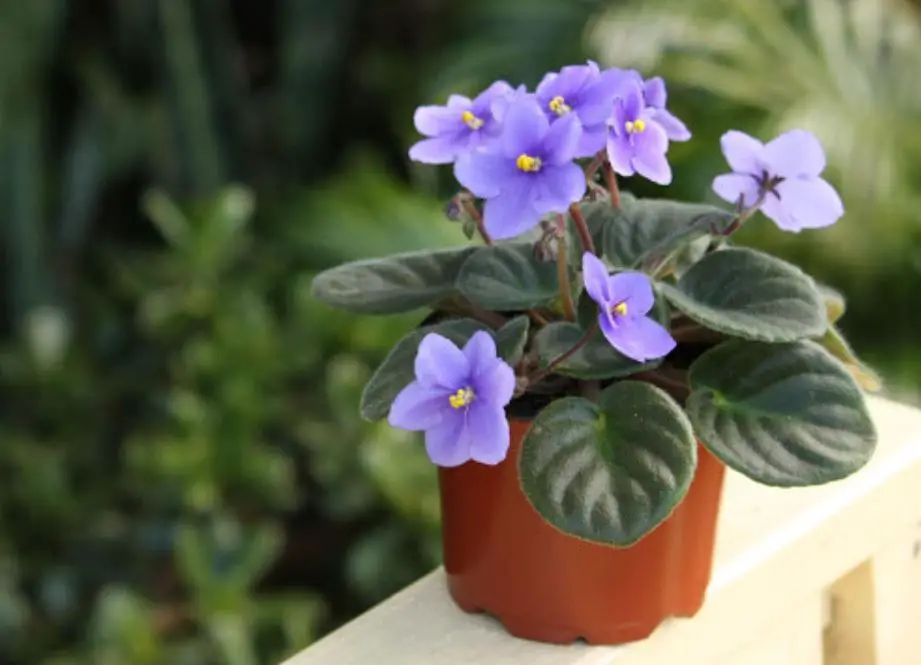
A 50-year lifespan is possible for African violets! You need to give them proper care, which includes repotting African violets, to get them there. Knowing when to repot an African violet, as well as the right kind of soil and container size, is the secret. We will go through some repotting advice for African violets so that your plant transitions successfully.

When to Repot an African Violet
Most plants eventually need repotting, either to expand the container’s size or add new soil. There are several schools of thought on properly repot, but everyone agrees that you may purchase or manufacture your African violet mix. Before relocating your plant, choose a container one-third the size of the plant’s leaf spread.
Most collectors advise repotting at least once and perhaps twice a year. Since they are often indoor plants, the time is not critical, but it is best to disturb the plant while it is not actively developing and flowering to prevent transplant shock.
Tips on African Violet Repotting
Water the plant well from beneath the leaves before repotting it, or place the container in a saucer of water for an hour. You may extract the plant from its container with the aid of moisture. With clay or ceramic pots, this is more significant. You may omit this step with plastic containers that will flex somewhat to assist the root ball in sliding out.
Repotting African violets effectively requires the correct soil. You may build your own or buy really fine blends created especially for this species. Use one part each of peat moss, sand, and garden loam for this. If desired, mix in a small quantity of bone meal. Before planting, softly mist the soil.
When relocating the plant from its previous home, take caution. It may be necessary to slightly loosen the dirt before turning the plant over, carefully cradling it in your hand, and pushing it into the drainage holes. The plant should just pop out, but you may use a knife to trim the container if required.
How to Repot African Violets
The following step has a variety of directions. Some advice is to spread the roots gently after trimming a small portion of the root mass. If the plant’s neck is extending, this is helpful.
Some advice is breaking the plant into smaller plantlets; however, this only applies to more mature plants. Others believe the root ball should be left alone and inserted into a hole created in the new container before being backfilled.
The plant’s leaves need to be just barely touching the container’s rim. Bag the container and plant it to lessen transplant shock. The plant recovers thanks to the increased humidity. After a week, remove the bag and keep caring for the plant as normal.

